


Instructions to install SMARTEST Laser Short Flash (LSF) Boresight Cartridge
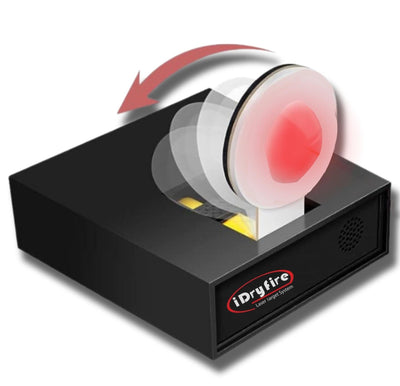
Dry-Fire Laser Training System
ONLY FOR 9MM
Installation & Operation Guide
GENERAL INFORMATION
The powerful training system designed to enhance your shooting skills and deliver a realistic, high-quality dry-fire experience.
Intended use: dry-fire training for unloaded 9mm pistols in a controlled
environment only.
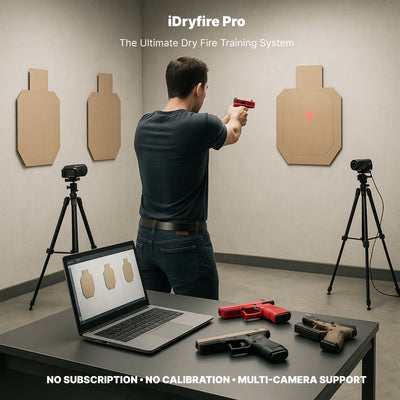
When combined with targets, simulators, and training software, the
system creates an advanced and effective practice environment. This
helps accelerate improvement and build real-world performance.The SMARTEST Laser is an acoustic-activated laser designed for 9mm pistols.
It operates only when a trigger-reset training magazine is
installed - iDryfire TTrigger or other compatible dry-fire reset magazines (LIKE from SIG SAUER).Without a trigger-reset mechanism installed, the SMARTEST Laser will not
function.
The unit is designed to activate only in response to the distinct
mechanical acoustic impulse generated during dry-fire trigger
actuation when used with a compatible trigger-reset training
magazine.
The SMARTEST Laser is easy to install and compatible with most dry-fire
training magazines available.
Scan the QR code to access our tutorial video page and begin training
Safety First
Always follow basic firearm safety rules.
• Always treat every firearm as if it is loaded
• Remove all live ammunition from the training area
• Verify the chamber and magazine well are empty
• Always point the firearm in a safe direction
This product is designed only for dry-fire training with an unloaded firearm.
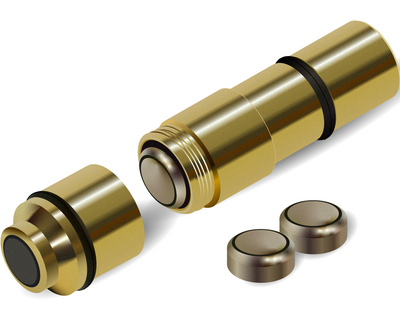
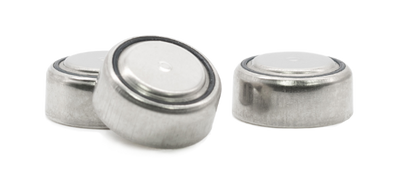
PACKAGE CONTENTS
Depending on the package purchased, your product may include the following items: 


TROUBLESHOOTING
Laser not firing:
- Replace batteries and ensure a clear, audible dry-fire sound.
- Make sure the cap is fully closed and securely tightened.
- If idle, the unit may have auto-shutoff - turn it back on
(The SMARTEST Laser powers off automatically after 3 minutes of
inactivity)
Laser dim:
- Replace batteries.
- Gently clean the lens using a dry, soft cloth only. Do not use
solvents, liquids, or abrasive materials
Laser fires on both trigger pull and trigger release:
- Remove the SMARTEST Laser → point it at a nearby surface → press and
hold the black button for 3 seconds until one flash appears.
- If two flashes appear, repeat and hold the button for 3 seconds
again.
Laser fires only on trigger reset:
- Wait approximately 5 seconds - the SMARTEST Laser will automatically
resynchronize.
DRY FIRE TRIGGER RESET MAG does not produce a “click”:
- The T-TRIGGER may not be fully seated.
Remove it → pull the trigger forward → reinsert firmly.
A strong push may be required.
- A slight adjustment of the T-TRIGGER may be required using the
upper adjustment screw.
Laser Safety
• Do not stare directly into the laser beam
• Avoid directing the beam toward people or animals
• Do not disassemble the device
• Use only for dry-fire training
Technical Specifications
Laser Type: Visible red diode
Wavelength: 650–660 nm
Output Power: <1 mW
Laser Class: Class 2
Leave a comment