


How to Setup Clip & Shoot
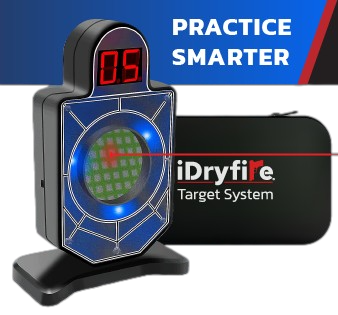
Don't have a Clip & Shoot of your own? Buy one here!
1. Download Clip and Shoot app from Apple App Store or Google Play.


2. Assemble the Target:
- Choose one of the included colored circular screens (the colors may vary). The particular color has no effect on the experience. Just pick whichever you prefer

- Choose the Square (1.5” x 1.5”) or Circle (¾”) Target Shape adapters. This will set the target bounds for your training. If you prefer, you can opt to not use a Target Shape adapter

3. Gently screw the assembled Clip & Shoot housing onto the provided clip.
4. Clip the target assembly over the front-facing camera.

Ensure your target is exactly centered over the camera.

The preview section in the app should be filled with the color of the filter (no black edges).
The example of the target is not perfectly centered over the camera:


5. Settings:

Set the number of shots available for the current session. Usually set to the number of shots in the magazine. Or pretend you're in a Die Hard movie and set it to infinity. (We don't recommend doing this unless you're actually Bruce Willis.)

This mode is for those of us who want to practice draw speed. Imagine you want to practice drawing from a holster and then hit a target with one shot, all within 3 seconds. You would set PAR TIME to 3 seconds. After the START signal, draw your pistol and take one shot at the target. Three seconds later, you’ll hear a beep signifying the end of the session. Any hits on target after the par time signal will not be registered.

Set the number of sessions per the exercise

Session Results

Details for each session

Settings:

START DELAY – Set the amount of time for the random start (buzz) after the Start was activated.
AUTO RESTART – aka 'hands-free' mode. Set the amount of time you need between sessions, and new sessions start after the set amount of time.
SENSITIVITY - Makes the target more or less sensitive to the laser beam.

SET A CUSTOM SOUND – Practice getting boring? Select different sound options! (Be sure to check out our "Special" sounds!)

Multiple Targets:


To manage the impact of room brightness on target sensitivity, access SETTINGS and adjust the SENSITIVITY or relocate to an area with less direct light.
If the target is not censoring your laser device, consider increasing the SENSITIVITY.
Thank you for your purchase!